Adobe Illustrator for Beginners: Get Started in 10 Minutes

Adobe Illustrator for Beginners: Get Started in 10 Minutes
Getting Started with Adobe Illustrator in 10 Minutes: Mastering Points and Shapes.
Welcome to Adobe Illustrator! In just 10 minutes, we’ll explore the fundamentals of vector graphics with Illustrator’s building blocks: points and shapes.
1. Launching and Setting Up:
- Open Adobe Illustrator.
- Click “New File” and choose a preset size like “Web” or “Print” based on your project.
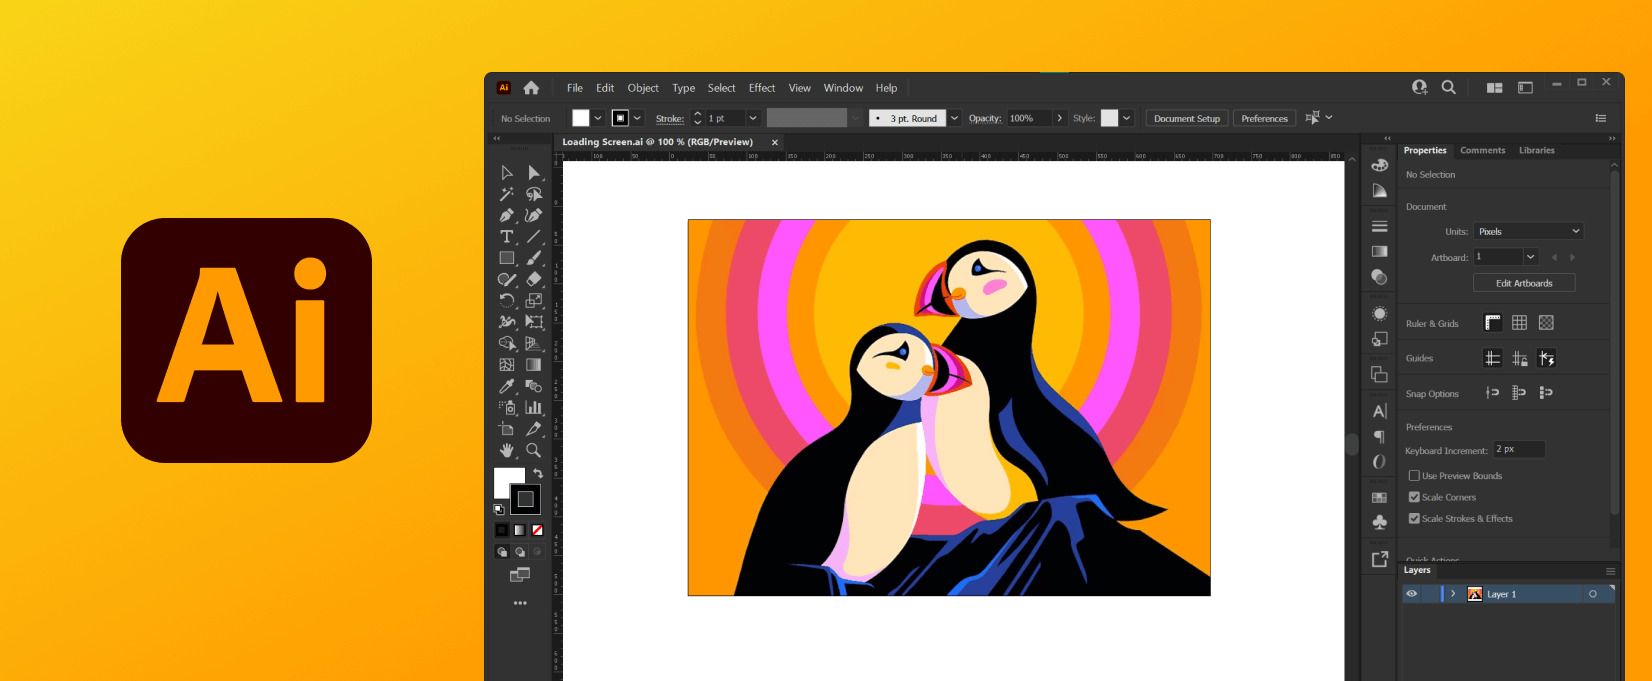
- Click “Create” to enter the workspace.
2. Exploring the Workspace:
- Look for the toolbox on the left containing various tools.
- The white space in the center is your artboard, where you’ll create your designs.
3. Unveiling Points and Shapes:
- Let’s draw a circle using the Ellipse Tool (press “L”). Click and drag on the artboard to create a circle.
- Now, select the Direct Selection Tool (press “A”).
- Hover over the circle, and you’ll see small squares – these are called anchor points. They define the shape’s corners and curves.
- Click and drag an anchor point to move it, reshaping the circle.
- Notice handles (small lines) appear near some anchor points. Drag these handles to adjust the curvature of the shape.
4. Experimenting with Shapes:
- Explore the various shape tools in the toolbox (Rectangle, Polygon, etc.).
- Combine shapes using the Pathfinder panel (Window > Pathfinder).
- Use the Pen Tool (press “P”) to create custom freehand shapes by clicking and dragging to create anchor points and adjusting them with the Direct Selection Tool.
5. Bonus Tip:
- Hold “Shift” while using shape tools to constrain proportions (perfect squares, circles).
Congratulations on taking your first steps into the world of vector graphics with Adobe Illustrator. Remember, the more you practice and experiment, the more you’ll unlock your creative potential!
Suriyakumar Sutharshana Asked question